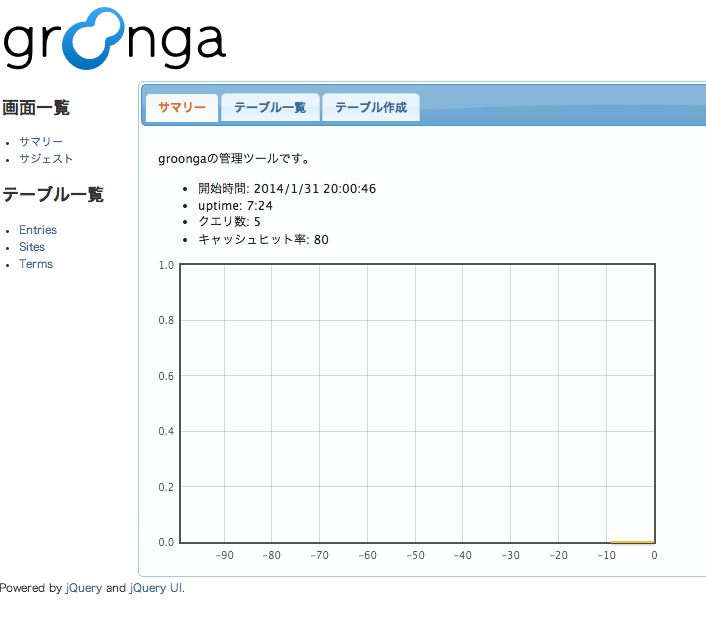
これつかうと Heroku の上で Groonga が動かせそうだけど README 読んでもいまいちなにが起きるか分からないし、だれも言及していなくて、すごい闇のツールっぽい。
ちなみに動かしてみると Groonga の HTTP サーバが Heroku 上で使えるようになる。 Groonga 用の HTTP サーバなので、他のウェブアプリケーションとは同居できない感じだった。頑張ればできるんだろうけど。
やりかた
mkdir heroku-groonga
cd heroku-groonga
git init
heroku create --stack cedar --buildpack https://github.com/groonga/heroku-buildpack-groonga.git
mkdir groonga
cd groonga
vi 0.grn
grn ファイルは、すでにある Groonga DB からダンプできる。
groonga original/db dump > 0.grn
git add .
git commit -m 'first commit'
git push heroku master
これで、 Heroku 上で Groonga が動く。

認証
これだと Groonga の API が認証なしで全部使えてしまうのであんまよくない。 Groonga の HTTP サーバは nginx を使っているらしいので、 nginx の conf を別で定義できるやつを作った。
やりかた
mkdir heroku-groonga
cd heroku-groonga
git init
heroku create --stack cedar --buildpack https://github.com/shunirr/heroku-buildpack-groonga.git
mkdir groonga
cd groonga
vi groonga-httpd.conf
こんな感じにかく。
worker_processes 1;

# Match this to the file owner of groonga database files if groonga-httpd is
# run as root.
#user groonga groonga;

events {
  worker_connections 1024;
}

http {
  include /app/vendor/groonga/etc/groonga/httpd/mime.types;
  default_type application/octet-stream;
  sendfile on;
  keepalive_timeout 65;

  # The default groonga database path.
  groonga_database /app/vendor/groonga/var/lib/groonga/db/db;

  # Create a groonga database automatically if the groonga database doesn't
  # exist.
  #
  # Note that this option is danger when worker_processes is greater than 1.
  # Because one or more worker processes may create the same groonga database
  # at the same time. If you can create a groonga database before running
  # groonga-httpd, you should do it.
  groonga_database_auto_create on;

  server {
    listen 10041;
    server_name localhost;

    location /d/ {
      groonga on;
      groonga_database /app/groonga/database;
      auth_basic "Require Auth";
      auth_basic_user_file /app/groonga/htpasswd;
    }

    location / {
      root /app/vendor/groonga/share/groonga/html/admin;
      index index.html;
      auth_basic "Require Auth";
      auth_basic_user_file /app/groonga/htpasswd;
    }

    error_page   500 502 503 504  /50x.html;
    location = /50x.html {
      root html;
    }
  }
}
お好みで htpasswd ファイルを作っておく。
htpasswd -c htpasswd dankogai
git add .
git commit -m 'first commit'
git push heroku master
これで、 Heroku 上で Basic 認証がついた Groonga が動く。
つかう
Groonga の Web API 、ラッパーが無い (あとで作りたい) ので、頑張りましょう。このように使えます。
http://groonga/d/コマンド名.output_type?引数名1=値1&引数名2=値2&...
基本的に select しか使わないはずなのでこんな感じ。
http://groonga/d/select.json?table=Entries&query=body:@ゆい

JSON でデータが返ってくるけど、結構微妙な構造をしてて、あらゆるものが配列に入っている。
あと、 10 件しかデータが入ってない (どうやってカウントやページ指定するんだろう) 、スニペットとかどうやって作るのかよくわからない。
まとめ
Heroku で無料で人間的な全文検索が出来るようになりました。